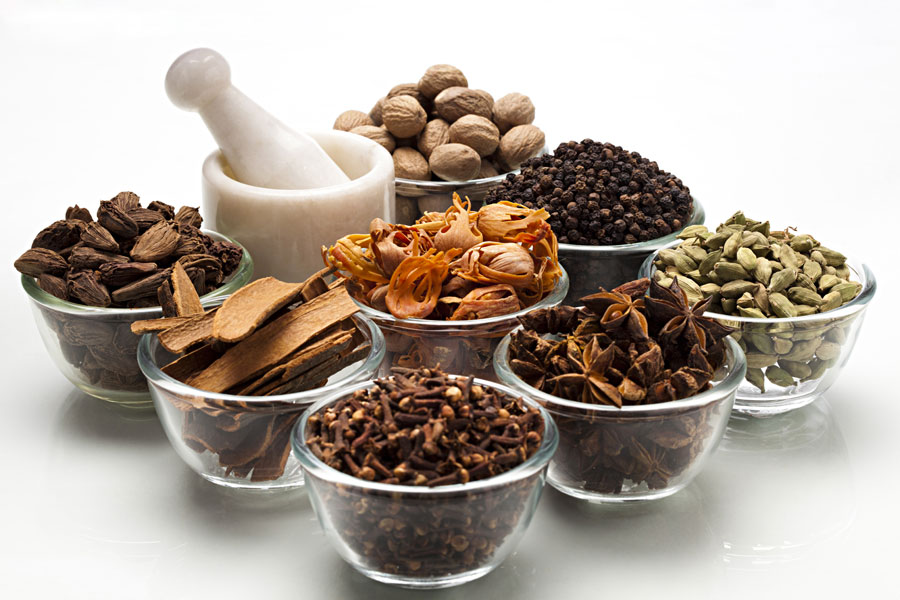
Here I am explaining how to make garam masala at home. This is my Mom’s recipe.
She would always prepare different masalas at home only like Red Chilli Powder, Vegetable Masala, Turmeric Powder , Garam masala.
Every year, in Summers (April -May) end she would get the raw ingredients needed and make the masalas and store it for a year.
She would do this in Summer, because the hot climate helps dry up the spices and can be store fresh with their aromas intact.
Shopping for the raw ingredients was another fun and a good learning i.e. to ensure correct kind of chillies are used for different types of masala. Would clean those ingredients and later would spread across a clean sheet to dry directly under the sun. Would dry it for 2-3 days (min. 4 to 5 hours each day under sun).
Spices made at home would always have better flavours and aroma. Reason being everything is used in correct quantities, all natural ingredients and made with lot of efforts and love. Also, storing them is easy as it can be stored in air-tight containers / glass jars with tight lid.
This is the first time I made the masala right from scratch on my own. And yes, the satisfaction I got after making this, cannot be expressed.
So, sharing with you the same recipe to make approx. 2.5 kg masala.
It easily stays stored for over a year, if stored in right conditions and containers.
Ensure roasting all the spices really well as Mumbai climate keep changing.
Ingredients :
1 kg coriander seeds
500 gm Dried bedgi mirchi
40 gm cloves, cinnamon ,bay leaves, black cardamom, star anise, black peppercorns, cumin, Shahi Jeera (Caraway Seeds), Javitri (Mace), Nagkesar, Dagad Phool (Stone Flower / Rock Flower), Sesame seeds
15 gm fennel seeds
2 nutmeg


Process:
Take kadai or big utensil to roast all the spices.
We can also roast all ingredients separately or together (depending on size of the utensil and quantity of spices to roast).
My ingredients quantity is more, so I have taken items as mentioned below :
1 kg coriander seeds (roasted separately)
500 gm dried bedgi mirchi (roasted separately)
Rest of the ingredients are in small portions, hence roasting it together (you can roast as per your inconvenience).
After roasting the ingredients properly, keep it under the fan to cool it down.
Once it has cooled down, ensure putting it in a air-tight container. (You can take it to the Flour mill for proper grinding – you will have mills dedicated for masala grinding).
After grinding, keep the container lids open to cool it down again. And once cooled down, ensure storing it in a air-tight container. Storing in a Glass jar with air tight lids is preferable.


Leave a Reply